Galvanised Plant Stand: Step-by-Step Set up for Aussie Home and Commercial Growers

If you’re an Australian gardener—whether tending to a backyard oasis or managing a commercial nursery—investing in a galvanised plant stand can enhance your plant organisation, maximise sunlight exposure, and promote healthy growth. At Peters Glen Shade Houses, we offer a range of plant stands designed to meet diverse gardening needs.
Our products are manufactured and distributed Australia-wide from Toowoomba in the Darling Downs region. Additionally, they are available from Fame Nursery at 119 Boundary Road, Thornlands, in the Brisbane Bayside region.
Why Choose a Galvanised Plant Stand?
Galvanised steel is a preferred material for plant stands in Australia due to its:
-
Rust Resistance: Ideal for various climates, including humid and coastal areas.
-
Strength and Durability: Capable of supporting heavy pots, seedling trays, and propagation equipment.
-
Low Maintenance: Requires no painting or sealing—set it up and start growing.
Peters Glen Shade Houses offers a variety of galvanised plant stands, including single-tier and multi-tier options. For instance, the Single Tier Stand (G1) is available in widths up to 3.0 meters.
Step-by-Step: Setting Up Your Galvanised Plant Stand
1. Unpack and Inspect Your Stand
Upon delivery, carefully unpack your galvanised plant stand. Ensure all components are present and the galvanised coating is intact.
2. Assemble the Frame
Peters Glen's plant stands are designed for straightforward assembly. Depending on the model, you may need basic tools like a spanner or a screwdriver. Follow the provided instructions to assemble the frame, starting from the bottom and working upwards for multi-tier stands.
3. Choose the Optimal Placement
Consider the following when placing your stand:
-
Sunlight: Position the stand to provide your plants with adequate sunlight, suitable for their specific needs.
-
Accessibility: Ensure easy access for watering and maintenance.
-
Drainage: Place the stand on a stable surface like concrete or gravel to facilitate proper drainage.
4. Secure and Level the Stand
Once positioned:
-
Use wedges or rubber feet to level the stand.
-
For larger units, consider anchoring them to the ground or a wall for added stability, especially in windy areas.
-
Verify that each shelf is secure before placing plants.
5. Arrange Your Plants Strategically
Distribute weight evenly:
-
Place heavier pots on lower levels.
-
Position lighter, more delicate plants on upper tiers.
-
Leave space between pots to enhance air circulation and reduce pest risks.
Explore Our Range of Plant Stands
Peters Glen Shade Houses offers an extensive selection of plant stands to suit various gardening needs:
-
Single Tier Stands: Available in widths up to 3.0 meters.
-
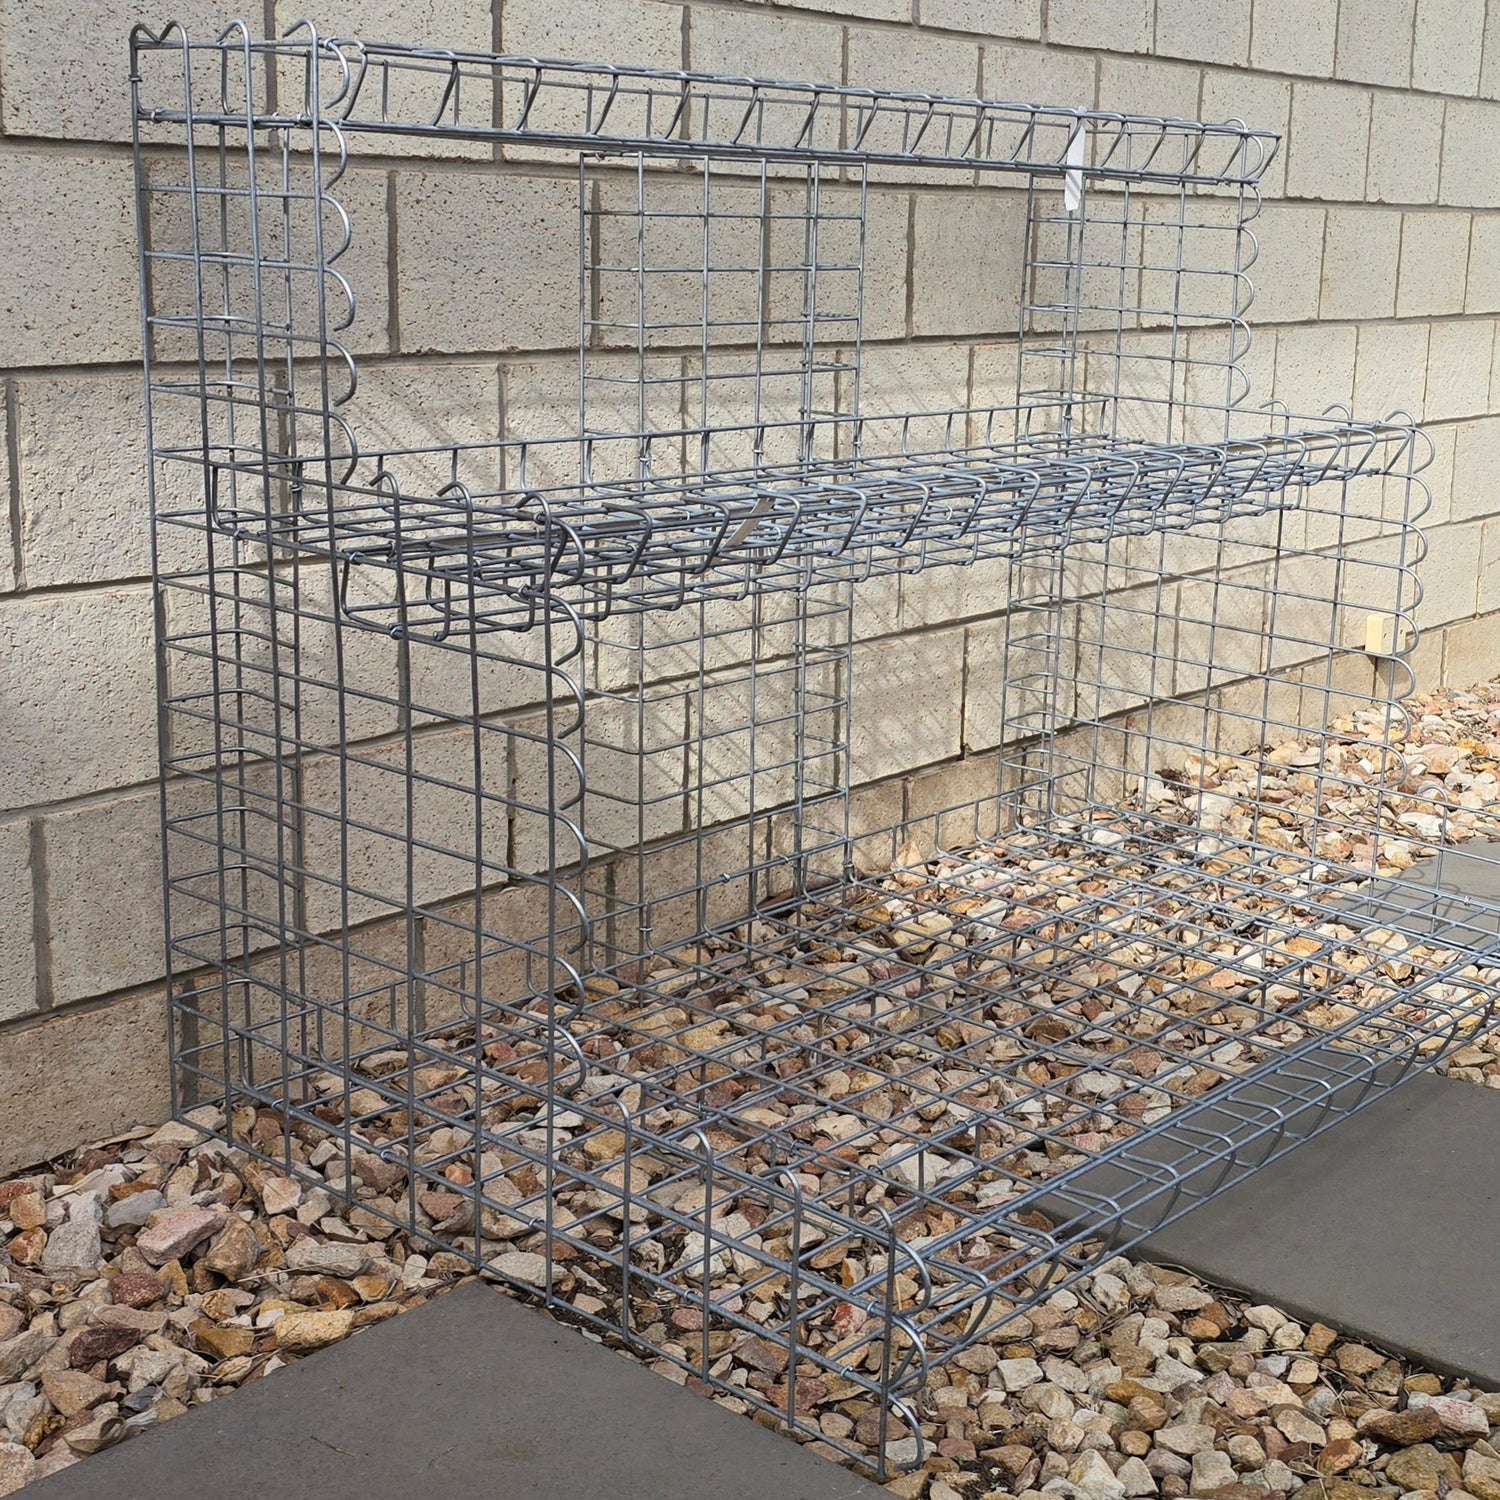
Multi-Tier Step Stands: Options include 2-tier, 3-tier, and 4-tier configurations, with varying widths and depths.
-
Miscellaneous Plant Stands: Including Z-leg designs and bookcase-style stands.
To view the full range and specifications, visit our product catalogue.
Final Thoughts
A galvanised plant stand is a valuable addition to any garden or nursery, offering durability, versatility, and ease of maintenance. By following the setup steps outlined above, you can create an efficient and aesthetically pleasing plant arrangement.
For a deeper dive into the advantages of galvanised gardening equipment, check out this article on the benefits of using galvanised planters in your garden: https://bindy.com.au/blogs/plants/galvanised-planter/
Shop Now
-
Shade Houses
Please note all Shade Houses are priced ex-nursery Delivery can be arranged...
-
Plant Stands
Quality Galvanised Wire Mesh Step Stands/Plant Stands available in a wide range...
-

Potting Benches
Durable Galvanised Potting Benches, with Catch tray great workbenches with a full width...